Arrr! Me Cabin Texturing Progress Matey!
I was hoping to get this project done by Halloween but the texturing process turned out to be longer than I expected it to be. Anyway here is the completed scene:
Texturing Process
I was initially thinking of using Zbrush for the texturing but since speed is important for this small project, I needed to find a quicker method of texturing. I did some googling and found this Texturing process by 3DEx where it shows you the process of making stylised material in Substance Painter: https://www.youtube.com/watch?v=Z7nwuTkvnQc. It wasn't exactly what I was looking for but I did a bit of tweaking to the smart material and ran with it throughout the texturing process.
I started on the Tileable Textures first as I will be using them quite frequently. Wood is the main texture used throughout the scene and I was actually able to create 4 variations during the process of making it. I learned how to make this handpainted texture from Kairosmith: https://www.youtube.com/watch?v=W_ZZE771h7Q.I then make a copy of this texture, desaturate it, did some modification to the levels and put it into Knald to bake the Normal Map and AO.
For Non-tileable assets (There a lot of them 😩)I used this wood as a base and combined it with the smart material from 3DEx.
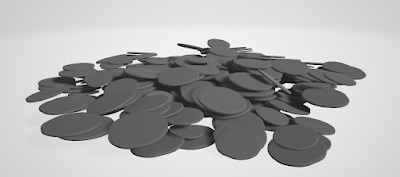
For gold coins/Doubloons, I used bullet solver to simulate physics and tiled it in a certain way to create a tileable normal map. With that normal map, I input it into Knald to bake the AO, Thickness, World space normal map so that the generators in Substance Painter come into play and give the base colour information. It's not the best coins material but it works. In UE4, I cover it up with the regular pirate doubloons I modelled and textured manually. (As shown in the 4th Image Below).
1. Speed is important since this is supposed to be a quick project.
2. I haven't used dynamic lighting much so it was a good opportunity for me to put it into practice.
3. I figured, hey if Epic is using it for Fortnite, why not use it for my project😜.
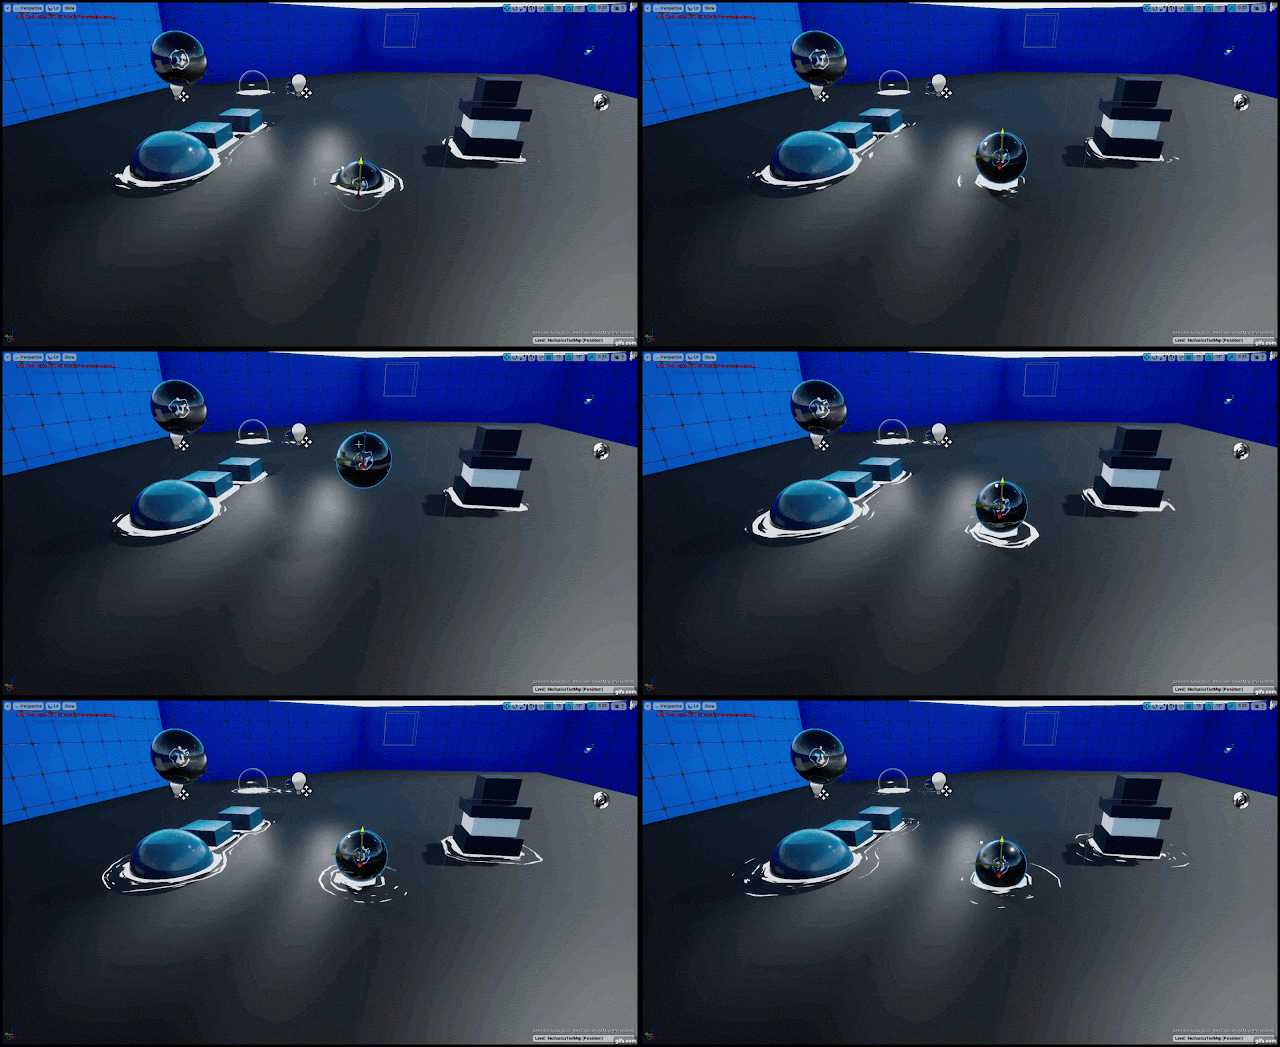
So I disabled the use of static lighting and went with Fortnite's method of using distance field shadows and relying on the use of dynamic lights. Using dynamic lighting is not the best method but the distance field is cheaper on the performance. Here is the GDC talk on Epic's dynamic lighting techniques: https://www.youtube.com/watch?v=vef_ZPLhjt8
Materials Since this is a project to experiment with what I know and don't know. In the past, I made some basic dynamic materials which have tri-planar projection and the functionality to Pan, Scale and Rotate Textures. I used this knowledge and applied it to this project.
I aligned the floor, wall and ceiling textures to the world so that there is no weird stretching coming from the material and that it stays the same throughout. It's a quicker method than manually increasing the UV Scale in Maya and reimporting the meshes again. Although it does save on shader instructions and performance, the performance gain is minor.
As for the non-tileable meshes, I added some functionality like the tint of the texture and the option to control the intensity of the Roughness, Metallic, AO, Normal etc. I use this to fine-tune the material to visually polish the scene. There is no need to align the texture to the world or have the functionality to Pan, Scale and Rotate textures because the textures are non-tileable and the mesh wouldn't benefit from it.
These 2 material setups are pretty much used in most of the assets in the cabin scene. For some assets, I used the above 2 material set ups as the base, then added some tweaks to the materials such as adding emissive for lanterns. However, I then used material instances to plug in the textures for the faster workflow process.
 |
| Artstation link: https://www.artstation.com/artwork/OyoeDJ |
Texturing Process
I was initially thinking of using Zbrush for the texturing but since speed is important for this small project, I needed to find a quicker method of texturing. I did some googling and found this Texturing process by 3DEx where it shows you the process of making stylised material in Substance Painter: https://www.youtube.com/watch?v=Z7nwuTkvnQc. It wasn't exactly what I was looking for but I did a bit of tweaking to the smart material and ran with it throughout the texturing process.
 |
| 4 variations of Wood Textures used throughout the scene |
I started on the Tileable Textures first as I will be using them quite frequently. Wood is the main texture used throughout the scene and I was actually able to create 4 variations during the process of making it. I learned how to make this handpainted texture from Kairosmith: https://www.youtube.com/watch?v=W_ZZE771h7Q.I then make a copy of this texture, desaturate it, did some modification to the levels and put it into Knald to bake the Normal Map and AO.
For Non-tileable assets (There a lot of them 😩)I used this wood as a base and combined it with the smart material from 3DEx.
AARRR! Doublooooons! (I really wanted to say that😆)
For gold coins/Doubloons, I used bullet solver to simulate physics and tiled it in a certain way to create a tileable normal map. With that normal map, I input it into Knald to bake the AO, Thickness, World space normal map so that the generators in Substance Painter come into play and give the base colour information. It's not the best coins material but it works. In UE4, I cover it up with the regular pirate doubloons I modelled and textured manually. (As shown in the 4th Image Below).
 |
| Coins made with Bullet Solver Simulation |
 |
| Coins placed in a certain way to make it seamless when baked |
 |
| Imported in UE4 |
 |
| The final scene with coins on top to hide the seam and make it look more convincing |
Lighting
For lighting, I used dynamics lightings for 3 reasons.1. Speed is important since this is supposed to be a quick project.
2. I haven't used dynamic lighting much so it was a good opportunity for me to put it into practice.
3. I figured, hey if Epic is using it for Fortnite, why not use it for my project😜.
So I disabled the use of static lighting and went with Fortnite's method of using distance field shadows and relying on the use of dynamic lights. Using dynamic lighting is not the best method but the distance field is cheaper on the performance. Here is the GDC talk on Epic's dynamic lighting techniques: https://www.youtube.com/watch?v=vef_ZPLhjt8
Materials Since this is a project to experiment with what I know and don't know. In the past, I made some basic dynamic materials which have tri-planar projection and the functionality to Pan, Scale and Rotate Textures. I used this knowledge and applied it to this project.
I aligned the floor, wall and ceiling textures to the world so that there is no weird stretching coming from the material and that it stays the same throughout. It's a quicker method than manually increasing the UV Scale in Maya and reimporting the meshes again. Although it does save on shader instructions and performance, the performance gain is minor.
 |
| Material setup for tileable materials (Sorry for the terrible image quality. I'll try finding a better solution to show materials but for now, try squinting your eyes. 😉) |
As for the non-tileable meshes, I added some functionality like the tint of the texture and the option to control the intensity of the Roughness, Metallic, AO, Normal etc. I use this to fine-tune the material to visually polish the scene. There is no need to align the texture to the world or have the functionality to Pan, Scale and Rotate textures because the textures are non-tileable and the mesh wouldn't benefit from it.
 |
| Material setup for Non-tileable materials |
These 2 material setups are pretty much used in most of the assets in the cabin scene. For some assets, I used the above 2 material set ups as the base, then added some tweaks to the materials such as adding emissive for lanterns. However, I then used material instances to plug in the textures for the faster workflow process.


Comments
Post a Comment