Posts

Some more Portofolio and Shader stuff (Im running out of blog post title name ideas😆)

Image
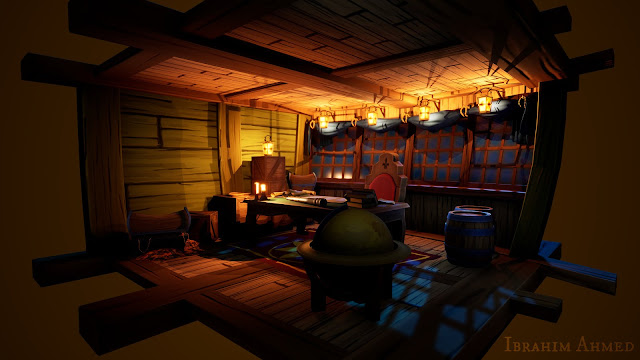
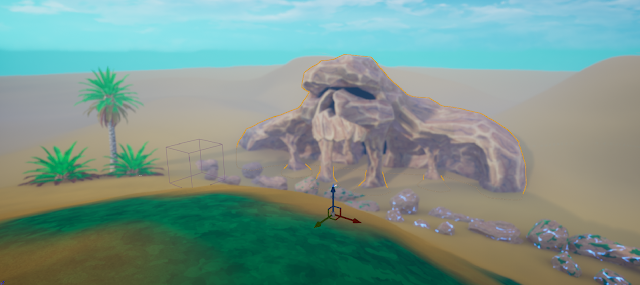
I haven't been updating much for a while after graduation from the MA course. I was playing Worms and Ghost Recon Wildlands. I really like the Splinter cell Mission and the Metal Gear Solid Easter Egg. I also didn't want to become rusty and forget how to model in Blender so I decided to make a quick mini-project based on those games: https://www.artstation.com/artwork/L2PPBw Worms Project: What happens when stealth legends meet? (Splinter Cell, Metal Gear Solid, Worms Crossover Project) I then decided to add some final touches to the Potion Bottle Project and create a Portfolio Piece:  https://www.artstation.com/artwork/mqkrg9 I also studied more about Python and Mel Scripting since I wanted to work towards being a Tech Artist. While Studying up on Python I decided to create this semi-fake equalizer in UE4 based on Spider-Man Into the Spider-Verse shader with the Kirby dots, half-toning, crosshatch shading. It uses a UV distortion which is then used Audio Visualis

MA Course Summary and Reflection

Image
In this project a static Pirate cabin environment, a weather particle system, an explosion particle, custom world aligned materials and fluid simulation in bottles were created. In addition, a water system with 7 different features, a Pivot Painter asset, a dust material and a dynamic game environment were created. It was learned that most of the game art trick assets encountered tended to begin with either blueprints, external rigging and animation or materials. They then utilised other animation techniques if necessary, such as particle systems for VFX and animation blueprints for physics animation. At the beginning, an experimental Pirate Cabin project was created to consider whether the animation techniques project was worth pursuing. Weather Particle using Niagara Particle system Explosion VFX Using Niagara particle system. World Aligned Rain Material  Bottle Fluid Simulation Finally, an environment was created showcasing the Water system with 7 modular

Final Environment

Image
Here is the final environment: After creating all the initial assets for the environment, I level designed and put the assets into place. I then set up the water system including adjusting the Gerstner waves on the ocean and the lake. I then put the river onto a spline following this Livestream tutorial by Zac Parrish:  https://www.youtube.com/watch?v=wR0fH6O9jD8 I was initially skeptical about lookup tables for post-processing but I decided to give them a go and they are amazing! I was able to get the results and the colours I wanted on the sand as well as the overall environment. Lookup tables are very easy to implement and give you a lot of control. You make all the adjustments on a screenshot of the environment. You then apply the same adjustments you made on the screenshot to the lookup table texture, import to UE4 and see the magic.  Here is the documentation:  https://docs.unrealengine.com/en-US/Engine/Rendering/PostProcessEffects/UsingLUTs/index.html Next, I

All Static Mesh Complete

Image
Here are all the static assets I intend to use to create the Environment: All the static assets ready to be turned into an environment. I'll probably add one more asset such as the grass if I get the time but this is more or less everything I intend to use. I also imported the Heat Distortion post-process I made back in 3rd year. I remembered learning this from the old UDK documentation which was one of the reasons that got me interested into materials:  https://docs.unrealengine.com/udk/Three/PostProcessMaterials.html Although it's a pretty old technique, it still makes a pretty good effect to this day. I have textured the Dungeon Entrance and the palm trees with Substance Painter. For the Dungeon Entrance, I have set up the material the same way as the rocks so it will have all the same features like terrain blending, sand and moss etc. I decided to change the sand again. I wasn't satisfied with the way it looks. The sand seemed to look wet. I might go back

Palm Tree Textured

Image
I really liked the date palm tree used in assassins creed origin. I based my palm tres on that except without the dates, Date Palm Tree in Assassin's Creed Origin I used Palm tree bark texture from Textures.com and modified it by making it tileable and used a cutout filter to make it stylised. After doing this just textured the rest tree trunk in substance Painter. I Handpainted the textures on the leaves.  Before I textured the tree, I planned ahead and I assigned the branches in 3 separate materials, One for wilted leaves, semi wilted and fully green leaves. It's just so that the transition is easier to implement. In UE4, I then use the nodes in the material editor to control the wilt amount on the Branches. Also, I added in the terrain blending from the rocks.  The result you get when assigning a material to certain leaves instead of all of them As for the Fern, I used the palm tree model as the base and removed the trunk and the branches that won

Landscape

Image
I wanted to make Journey's Sand in UE4 and I revisited the Sand Rendering Journey talk by John Edwards: https://www.youtube.com/watch?v=wt2yYnBRD3U When I first saw this presentation I couldn't understand how it was made now that I've got a good idea of the Material Editor. I understand some parts of how to make the glitter effects in Journey. I have also seen a similar approach on Twitter by Rob Fichman: got a lot of people asking how i do my sparkly effects and i love the shader tutorials by @minionsart so i got inspired to make my own!! gonna go more in-depth in the replies #gamedev #madewithunity pic.twitter.com/yfKO93yRq7 — rob fichman @ i ✨💖✨ my gf (@bobacupcake) January 29, 2018 Using the stuff I've learned from making the water material along with the Twitter post, I was able to make this sand in UE4: Overview of all assets and the landscape material test One thing that I lack in the landscape is the Oren-Nayer Shading from Journey. But fro

Pivot Painter

Image
I was initially thinking of not using Pivot Painter but since I am working on creating the foliage for the environment, I  decided to go ahead with it. I never really liked the Simplegrasswind node as that didn't produce convincing results. Even though you can modify its animation by other masking techniques, I still didn't like the motion it produces. In my 3rd year on my BA course, I used a simple Sine motion for the foliage which was great as a simple animation but I wanted more control based on wind direction and strength.  Later, I found out that there was something called Pivot painter. A feature that isn't mentioned quite often. Here is a good comparison of Pivot Painter and Simple grass Wind: https://www.youtube.com/watch?v=3u_576Pdcu0 There aren't many resources to go with on Pivot Painter but the Content Examples map, the UE4 Documentation:  https://docs.unrealengine.com/en-US/Engine/Content/Tools/PivotPainter/PivotPainter2/index.html and tutorial by Ab