I've never really made an effect using flipbooks so I thought I'd try learning the workflow used in the Games industry in creating a fluid simulation and make flipbooks out of it. I went through the Imbuefx tutorial on Fluid Dynamics and Explosions in UDK:
https://www.youtube.com/watch?v=3kJr5wC_oyY&list=PLoAbgsIP97amgAQgdg2dwJLIE1FEVBg2H I adapted the particle to Niagara.
 |
| Final Explosion Particle made in Niagara |
On another note, Maya's method of fluid simulation and rendering has been really frustrating. All I wanted to do was to just make a flipbook but the process was agonisingly slow. Anyway, I pushed on as I felt it was important to learn with it being a standard technique used in industry. Hopefully, I'll move onto something a lot more simpler and faster in the future like Embergen by JangaFX (currently under development.) Embergen might be a blessing for VFX artists around the world who just need to make flipbooks. 😊
https://jangafx.com/
Maya 2018 doesn't use mental ray and it now uses Arnold which slows things down. When I finally got the hang of Arnold, I thought I'd only need to render the Density but then I realised I need to do another render pass for the colour! It took 3 days for it to render in HQ!
 |
| Density |
 |
| Colour |
After the annoying Maya part, it was smooth sailing ⛵. I put the images into after effects to add finishing touches to create the flipbook. Then I made a greypack through RGB channels via Photoshop.
 |
| Final Flipbook packed into RGB channels |
Next, I imported it to UE4. The tutorial was using the traditional Cascade particle system but I adapted the FX to Niagara. Both Cascade and Niagara involved similar principles so it wasn't too much of a problem. It was actually quite fun.
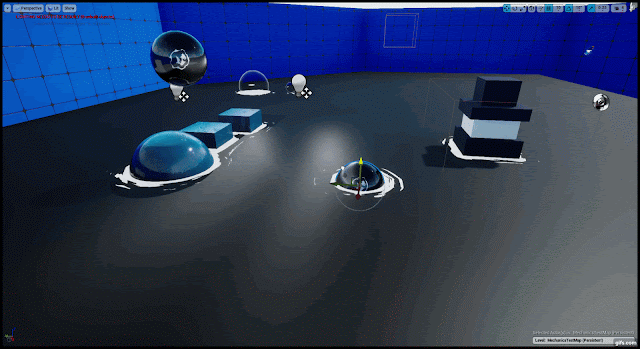
 |
| Niagara Particle System UI. On the right it uses modules like cascade and at the (where the timeline is) are the emitters also from the cascade |


Comments
Post a Comment